Welcome to part 3 of the Art ‘n Soul Scrappy Scarf crochet-a-long! Once again you continue to amaze me with your creativity and beautiful work! It has been so inspirational seeing your scarves show up in my group feed, and I’ve appreciated all the kind feedback on the CAL so far. If you’re not a part of the Facebook group yet, please feel free to join! We have a great group of supportive, encouraging ladies who are eager to see your work and cheer you on.
This week we will be focusing on slip stitching the swirl pattern on the scarf. It’s a fairly simple process, but does take some time. This part is best done with loose tension so that the scarf does not start to pucker. If you notice rippling or puckering of the fabric, try going up a couple of hook sizes. You will want to create your swirls as smooth and round as possible, but if you do notice a bit of a flat side, you can try tugging gently on the slip stitches to try and make them curve a little bit more. I demonstrated this on a recent live video in my Facebook group, last week.
Materials Needed:
6mm (J) crochet hook (or other medium sized hook)
25 yards of worsted weight yarn in complementing or contrasting color of your choice
yarn needle
scissors
Stitches Used:
Surface Slip stitch (If you’re not sure how to do this, here is a great video from Moogly that demonstrates the stitch)
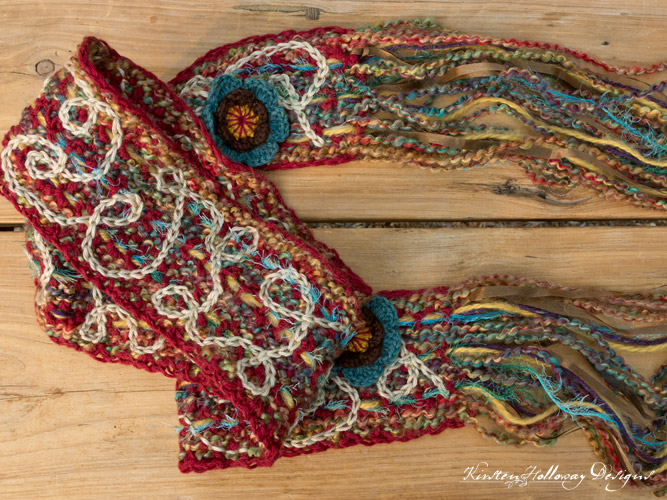
Once you are done weaving, pick up a complimenting or contrasting color of worsted weight yarn, and slip-stitch a pattern of loops and swirls along your scarf. I used Caron Simply Soft for my swirls because it’s fairly slippery if I end up needing to tear it out, but you can use whatever you’d like. This part is rather time consuming, but there really is no right or wrong way to do it. If you’d like, you can draw out your loop pattern on a piece of paper first, and follow that.
I put on my Lindsay Stirling Pandora station, which is very relaxing for me, and went to work. You can try listening to this too, or put on something else. 🙂
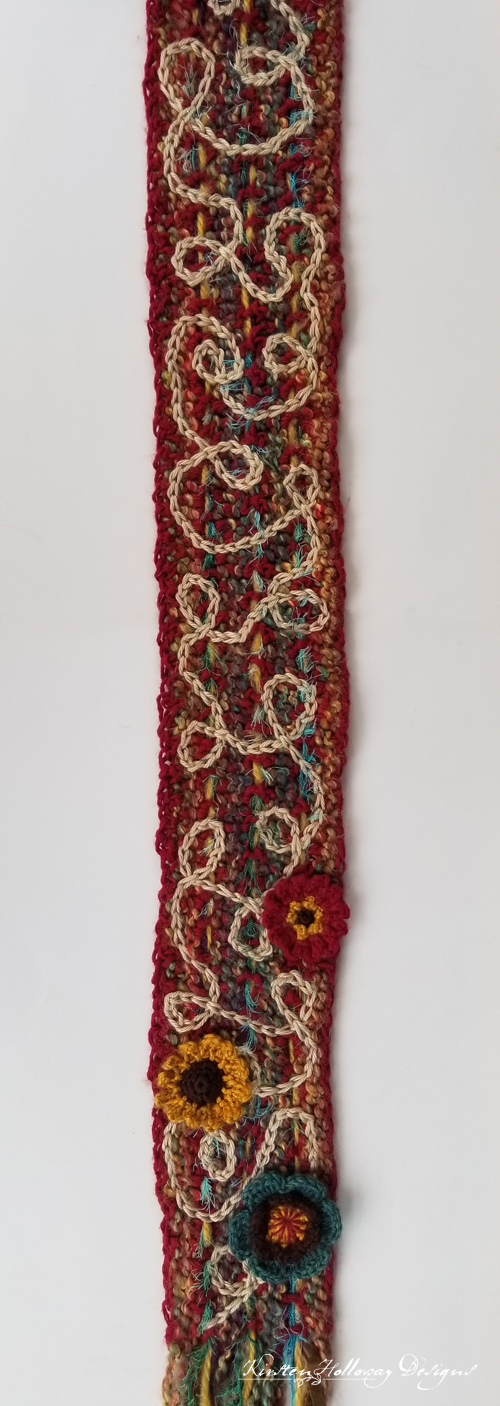
Here is most of my swirl pattern. Feel free to follow it if you want. It took me about 4 hours to do this part:
 Feeling loopy now?
Once you’re done, fasten off and weave in your ends.
Head outdoors for a breath of fresh air, and get ready for part 4!
We’re coming down the final stretch! All that is left are to crochet the flowers. I will be showing you how I made my flowers next week, but you are welcome to use any flower pattern from around the web that you like.
Back to Part 2: Making your dc “mesh”
On to Part 4: Flowers everywhere!
If you’re enjoying this CAL so far, won’t you consider staying in touch by signing up for my newsletter?
You can also find me around the internet on Facebook, Pinterest, Instagram, and Ravelry. I’d love it if you stopped by and said “hi”. 🙂
Disclaimer:
This post contains affiliate links. When you purchase something using these links a small amount of the sales price goes to me to help keep this site, and the patterns on it free. You do not pay any extra for the item you purchase. How cool is that?!


